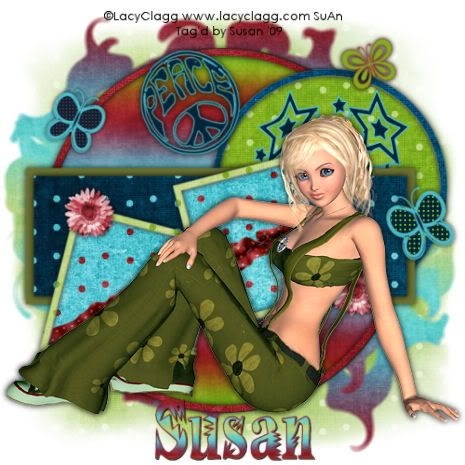
This tutorial was written on May 25th 2009 by Susan aka Hippiedaze.
The idea for this tag is off my own head lol and any resemblance is purely coincidence.
General Knowledge of psp is required, tutorial was written in psp 9 but will work in other versions.
Supplies Needed
Tube of Choice I used the artwork of Lacy Clagg, you must have a proper license to use her work please visit - HERE .
FTU Scrap Kit 'Grunge Dots' by Kim @ Kims Scrappin - HERE .
Template Used - MC Template #72 by Melissa @ Melissa's Creations - HERE .
Preset Shapes used are from Miggins does Scrapville and you can d/l from - HERE .
2 Masks of Choice.
Font of Choice.
Effects Used - Textured Effects, Weave.
(Open all supplies and save mask to psp folder before you begin)
Lets Get Started
Open the template, hit shift & d on your keyboard,this pastes the template as new image, close the original template. I resized all layers by 85% smart size at this point. ( optional) Delete info layer, go to layers, add new raster layer, grab your floodfill tool from the tool palete and choose white colour as your foreground then floodfill the new layer, move this all the way down to the bottom of your canvas, while still on white layer, go to layers, select canvas size and select 500x500 so you have a little more room to work, if theres any transparent canvas showing click it with the floodfil tool.
Activate the layer named Raster 5, go to selections, select all, select float, select defloat then paste a paper of your choice from the kit as a new layer, resize a little if needed then go to selections, select ivert then hit delete on your keyboard, go to selections again and select none. Delete the orginal circle layer now.
Repeat that same step for ALL other template layers, use different papers for each layer and delete the original layers as you work.
Add a dropshadow to the outer frame layers you created, Raster2, Raster 3, Raster 7 & copy of Raster 7 layers.
Activate the bottom white layer, grab your rectangle tool from the tool palette, on your canvas draw out a recrangle shape just slightly bigger than the rectangle layer in the centre of your canvas, you should see marching ants lol, once happy with the size/shape, paste a paper of choice as a new layer, resize a little if needed then go to selections, select invert then hit delete on your keyboard, select none, now you should have a boarder showing around the rectangle layer, add a dropshadow to this layer.
Activate the bottom white layer again, paste another paper from the kit as a new layer then go to layers, select load mask from disc then find the mask that you choose at the start, make sure the following settings are set :-
Fit to canvas - checked .... Source luminace - checked .... Invert transparency - unchecked/checked depending on the mask you choose .... Hide Mask - checked. Click ok. Go to layers and merge mask group.
Back to the bottom white layer once more paste a paper of choice as a new layer, repeat the mask step on this layer but choose the 2nd mask you saved at the start.
After merging group grab your deform tool to stretch it out a bit if needed.
Click back to your top layer of canvas now and paste your tube as a new layer, resize this if you need to and place where you like it, add a dropshadow.
Add a few elements from the kit to decorate and place where you like them, resize as needed and add a dropshadow to each layer.
I also used a few preset shapes for the extra elements on this one, you can get these from Miggins site (link above).
Crop and resize now if you wish to.
Add your name, artist info and copyright info.
Save as jpeg or .png. and we're done lol.
Thanks for trying my tutorial and i hope you enjoyed it would love to see your results, hippiedaze@hotmail.com
Tuesday, 9 June 2009
Peace Babe
Posted by hippiedaze at 01:47
Labels: Tutorials - FTU
Subscribe to:
Post Comments (Atom)


0 comments:
Post a Comment